I was in a sorority in college. I know there are tons of stereotypes about Greek life and sororities, but it seriously made college the most fun 5 years of my life (it’s okay that I was there for 5 years… I got my masters). I didn’t join my sorority until my junior year and it is almost like I went to a completely different school during the last 3 years. Almost all of the friends from college that I am still in touch with are from my sorority… I owe it a lot!
When you’re in a sorority, there are a TON of events to go to. And I think 90% of them have a t-shirt associated with them. What’s that old lightbulb joke? Oh yeah… how many sorority girls does it take to screw in a lightbulb? 51- One to screw it in and 50 to make a t-shirt about it. After graduating college I realized I had WAY more t-shirts than I knew what to do with, and very few opportunities to wear them. What is a crafty girl to do? Make a t-shirt quilt.
The quilt was my big project during the year after graduation (AKA last year). I found a pattern that is pretty easy to follow and I was off. It was the first quilt that I made mostly on my own. I picked light pink and green fabrics (my sorority colors) and found really cool fabric from my alma mater (GO UCONN) for the back. It took me about 3 months of working on it (on and off and for little bits at a time). I love the finished product!


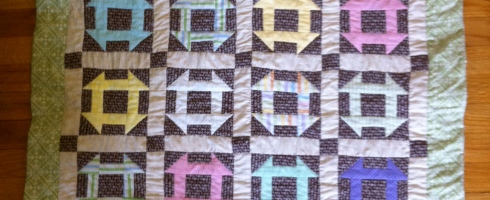
Once people saw my quilt, especially those sorority girls with far too many t-shirts, I was inundated with requests on how I did it or requests for me to make one for them. My policy was to show the pattern but always declined making one because it is A LOT of work. However, a very good friend of mine (Annie) decided to move to California this April and asked me to make her a quilt since she couldn’t take all her shirts with her. I must have been feeling generous so I agreed. It was actually nice to have a project to do! Annie wanted her quilt to be a bit brighter with pink on the back, and I found an awesome pink and green flowered fabric with some gold glitter running through it. I just finished the quilt last night, so I thought I’d show all of you the finished product!

 (Maggie decided she wanted to be in the pictures too.) Annie saw the quilt via email and she loves it! Yay because it is a combined going away and birthday present! I love these quilts because they are useful, warm, and a great way to remember the amazing times I had with all my sorority sisters.
What crafty things do you guys do with your old t-shirts?
-Carolyn